Meural WiFi Photo Frame
In this guide, we'll take you through how to set up, connect, and control your Frame.- 1. Getting started
- 2. Hanging and assembly
- 3. Using your Frame
Getting started
Step 1: Open the box
Carefully remove the clear plastic film from your Meural frame and use the pull tab to carefully lift the product from the box.The small box at the bottom of the package contains the following materials:
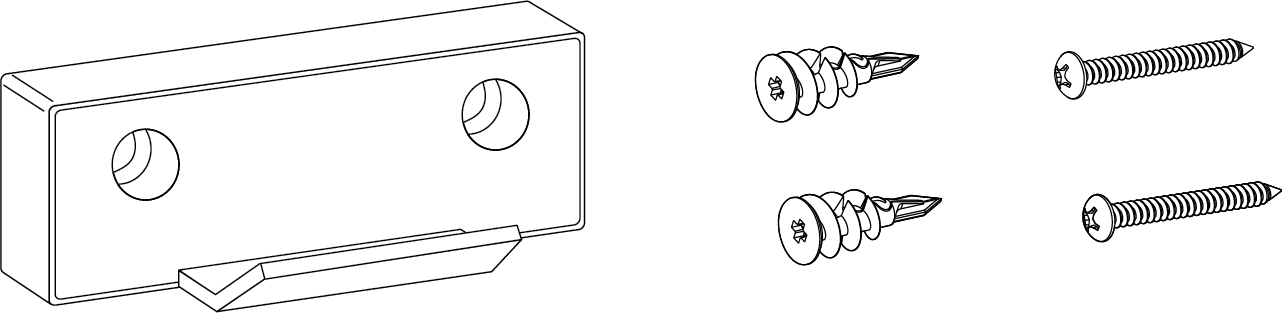
1. Power Adapter (varies by region) x12. Wall mount x23. Anchors x24. Screws x2
You can use the kickstand to display your Frame on a flat, stable surface, or you can mount it on a wall. Even if you plan to install on a wall, we recommend you still plug in and configure your Frame before wall mounting it.
Step 2: Plug in the Frame
Open the built-in metal kick-stand and place your frame on a flat and stable surface.The Meural WiFi Photo Frame can be placed in either a horizontal or vertical position.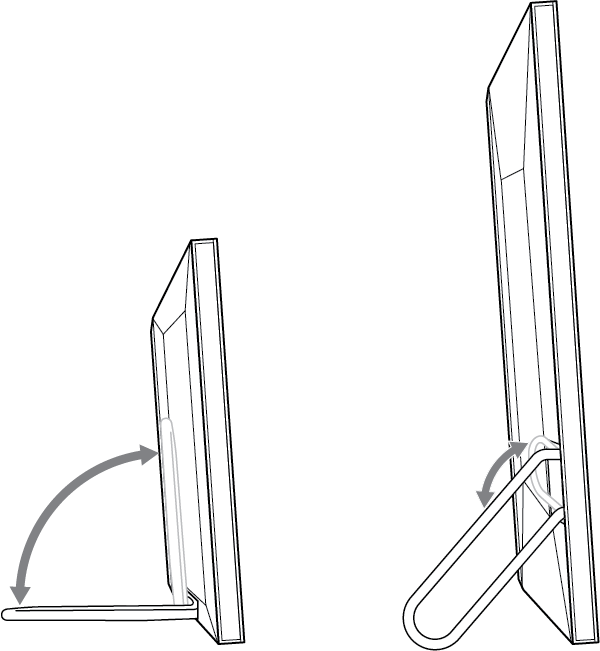
Plug in the power adapter to the power port located on the bottom of the frame behind the metal stand. Plug the adapter into a wall outlet to power up your Meural.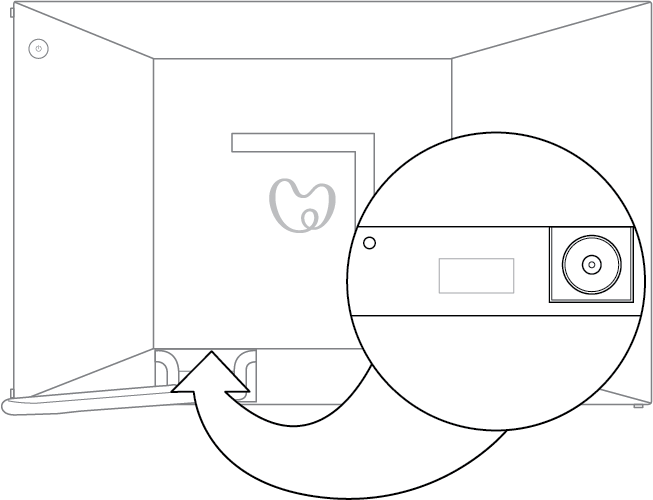
Step 3: Download the Meural app
On your mobile device, download the Meural app (available on iOS and Android).
Step 4: Log in or Create an Account
Open the Meural app and enter your Meural or NETGEAR single sign-on email and password to log in or sign up. (If you purchased the Meural Membership on meural.com you already have an account. Check your confirmation email for your login details. If you received your Frame as a gift or you don’t have an account, create one.)
Step 5: Follow the instructions in the Meural app
After logging in or signing up in the Meural app, you’ll be asked to set up a new Frame. Tap “Get started.”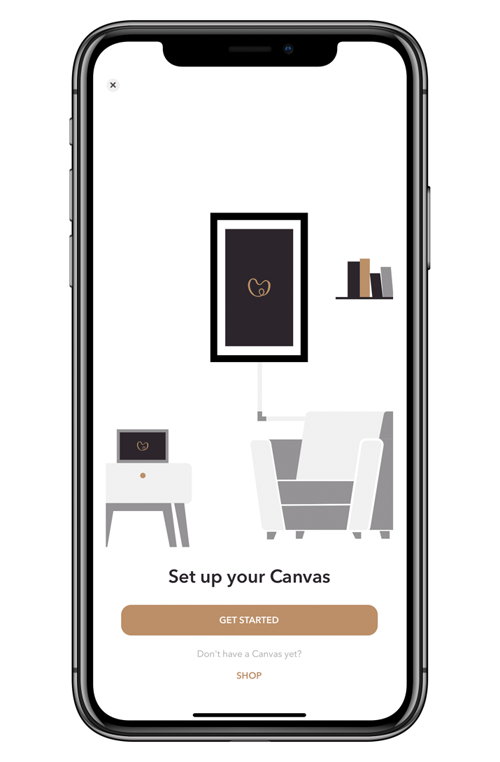
Don’t see the button? Tap the icon in the lower right hand corner. Tap the “Canvases” button on the top left, and then “Add Canvas.”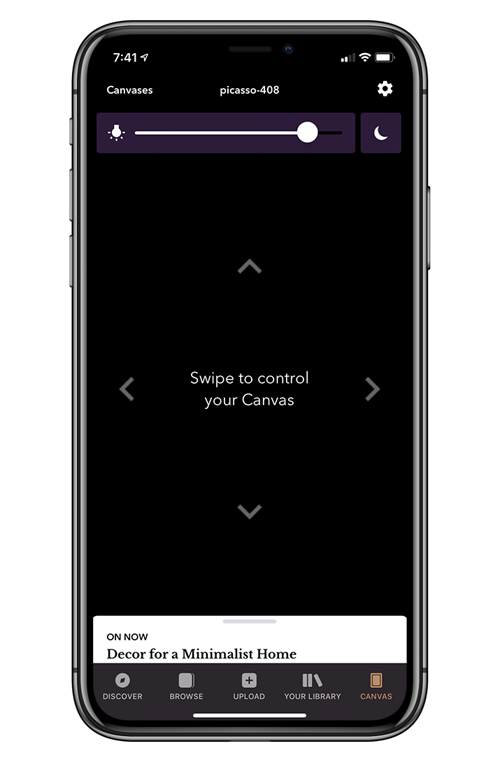
Up next: